How to Make Lapel Pins: A Comprehensive Guide
Table of Contents
- Introduction to Lapel Pins
- Types of Lapel Pins and Materials
- Step-by-Step Guide to Making Lapel Pins
- Design Considerations for Custom Lapel Pins
- Manufacturing Techniques for Quality Pins
- Marketing and Selling Your Pin Creations
- Caring for and Displaying Your Pin Collection
- Frequently Asked Questions
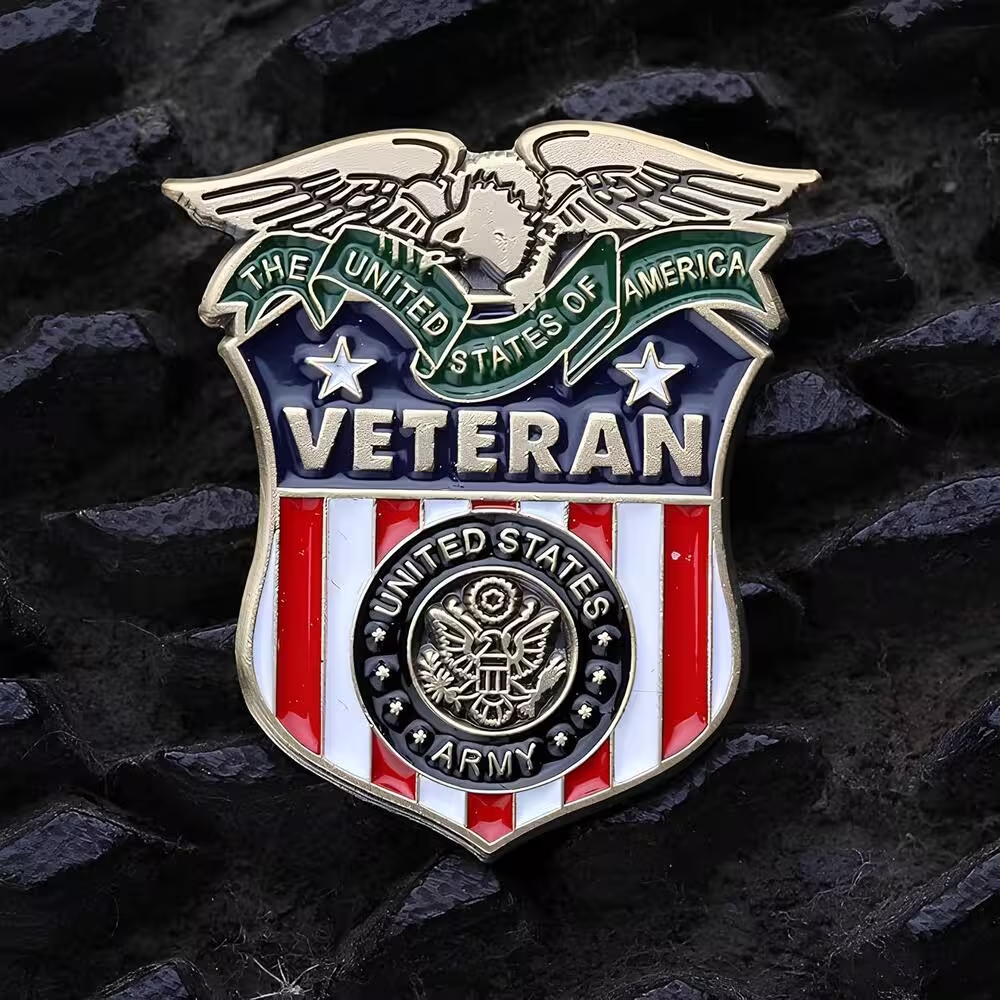
Introduction to Lapel Pins
Lapel pins have evolved from simple decorative accessories to powerful symbols of identity, achievement, and affiliation. These miniature wearable art pieces, often attached to clothing via a pin fastener, serve numerous purposes across various sectors. Whether you’re looking to create commemorative badges, promotional items, or collectible accessories, understanding how to make lapel pins can open doors to creative expression and even entrepreneurial opportunities.
The versatility of these small metal emblems makes them popular among individuals, organizations, and businesses alike. From elegant metal pins adorning formal attire to colorful enamel pins expressing personal interests, the world of decorative fasteners offers something for everyone. This comprehensive guide will walk you through everything you need to know about creating your own custom pin badges, from initial concept to finished product.

Types of Lapel Pins and Materials
Before diving into the creation process, it’s essential to understand the various types of lapel pins available and the materials commonly used in their production.
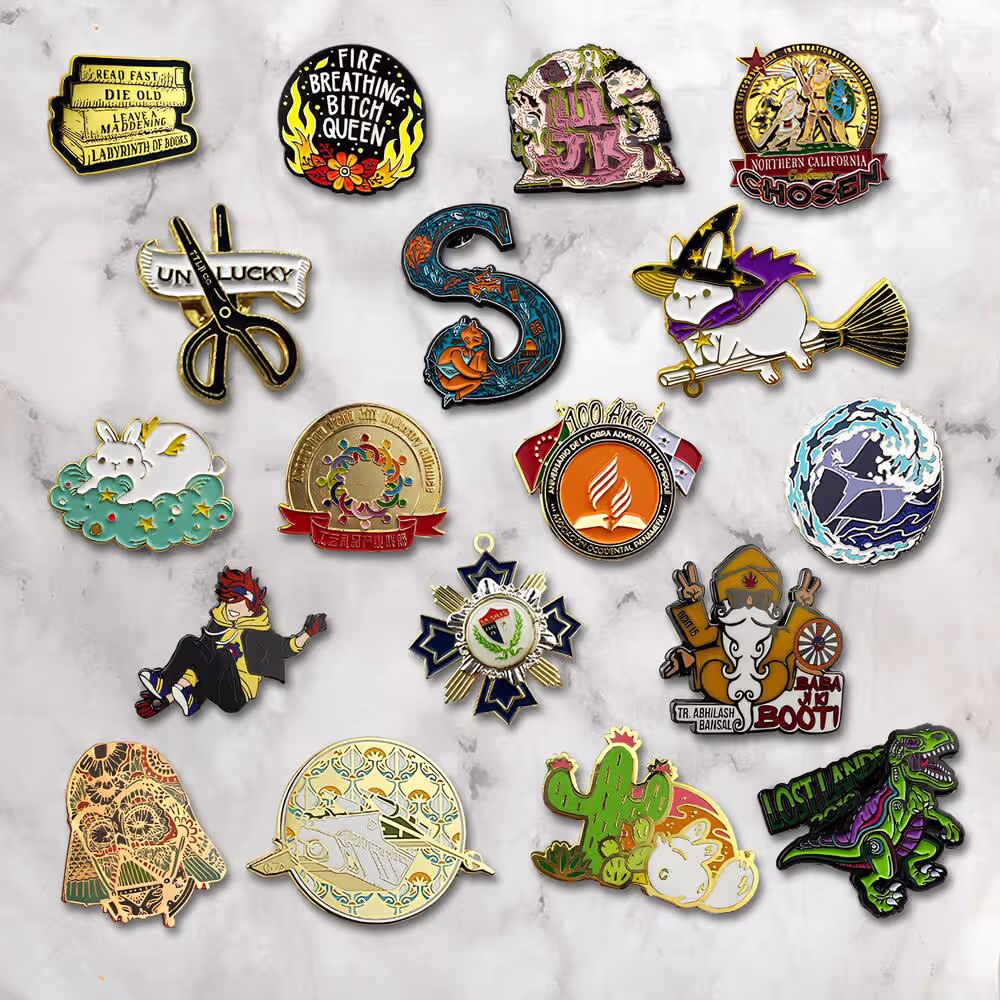
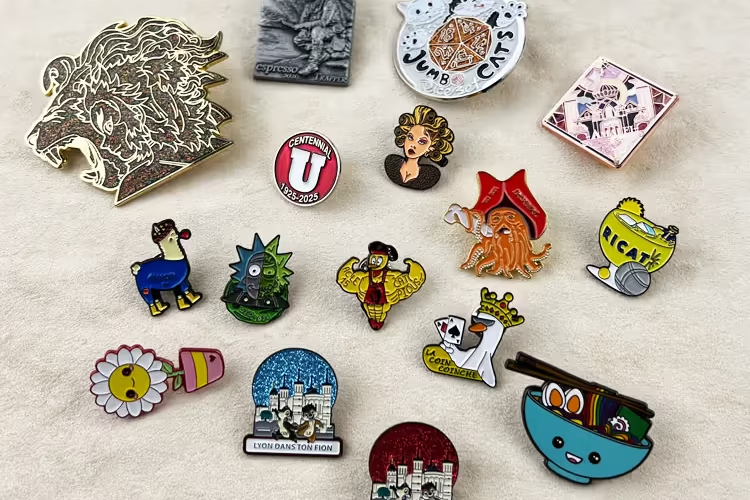
Common Types of Lapel Pins
-
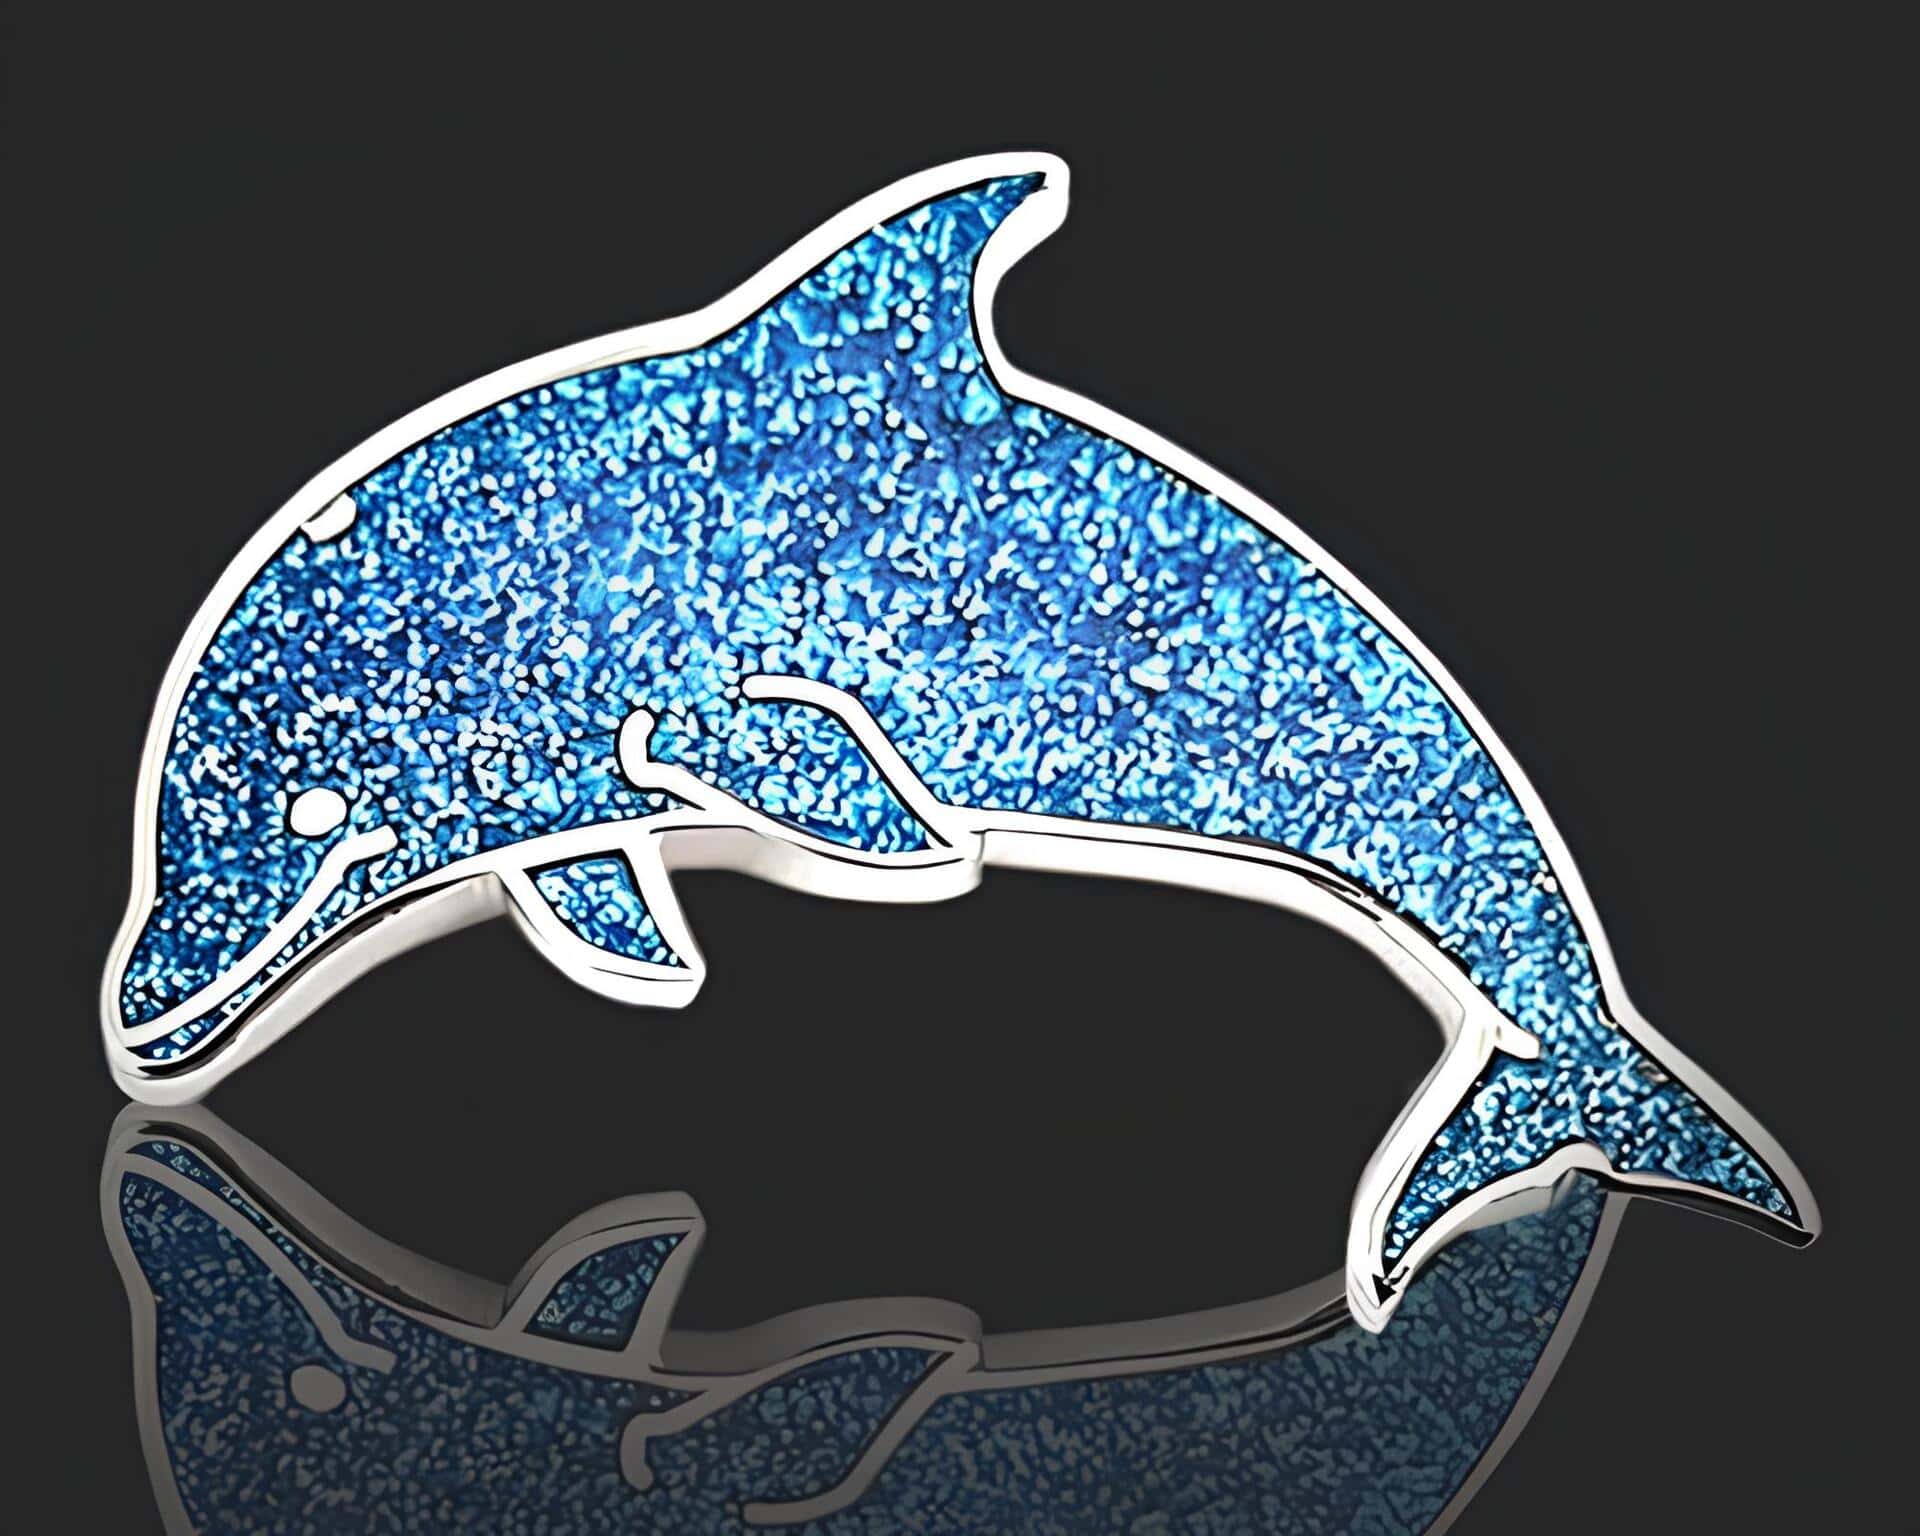
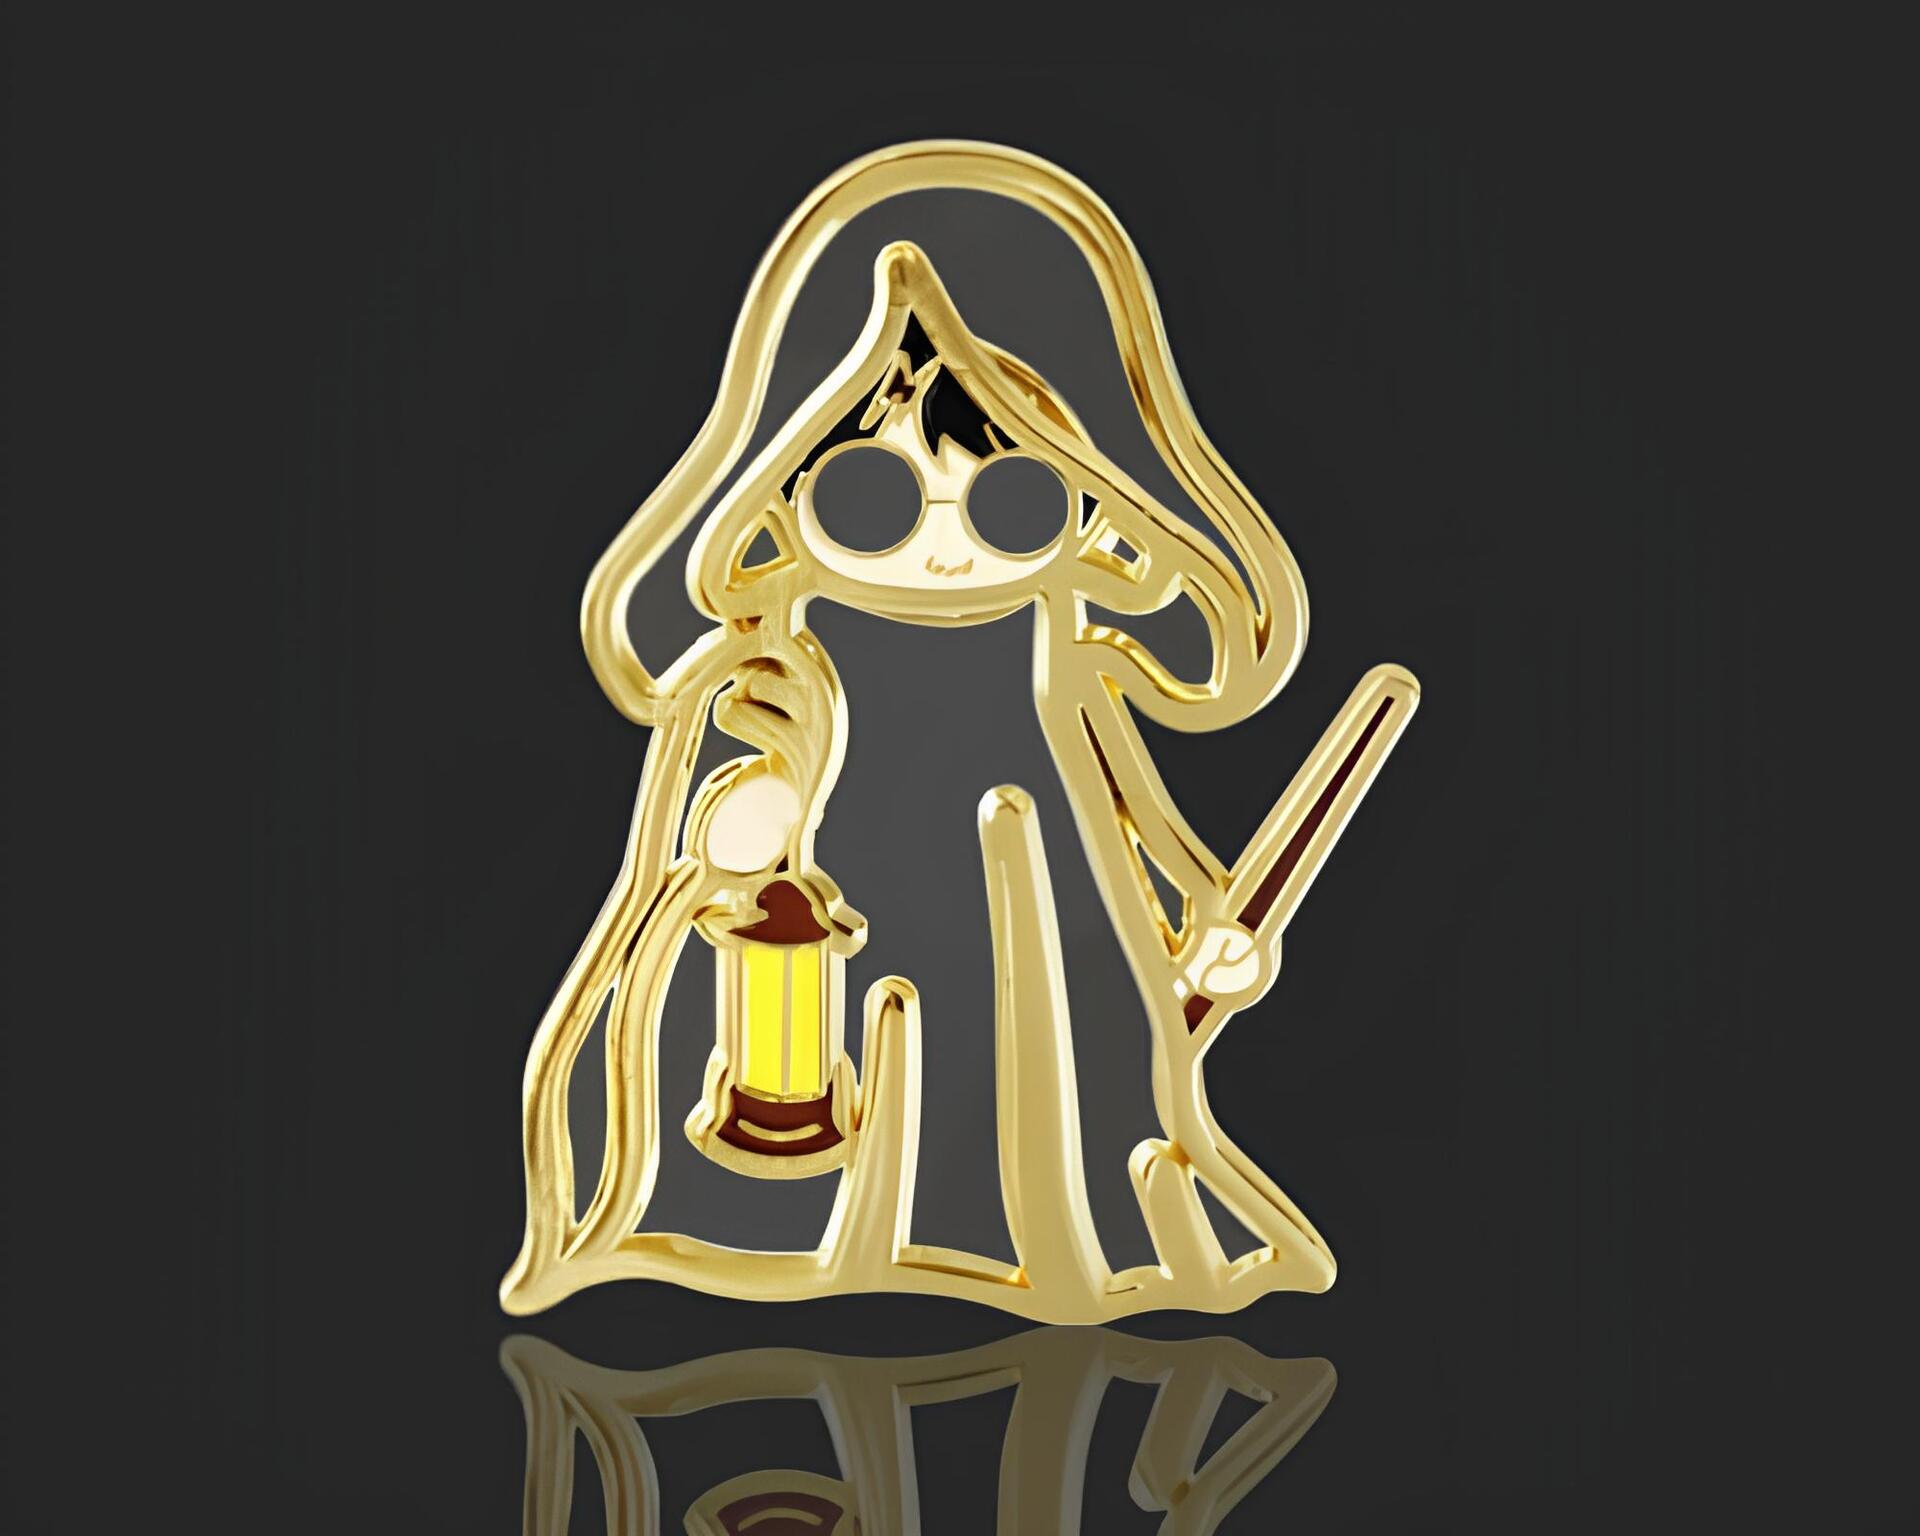
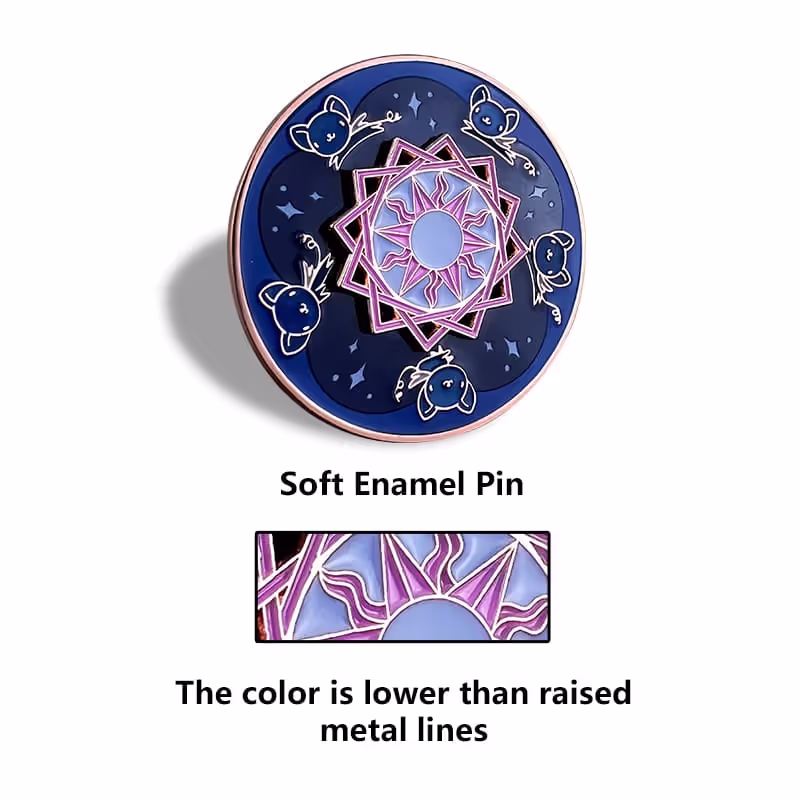
Soft Enamel Pins: These feature raised metal edges with recessed areas filled with colored enamel. The textured surface gives them a distinctive feel, making them popular for collectible badge designs.
-
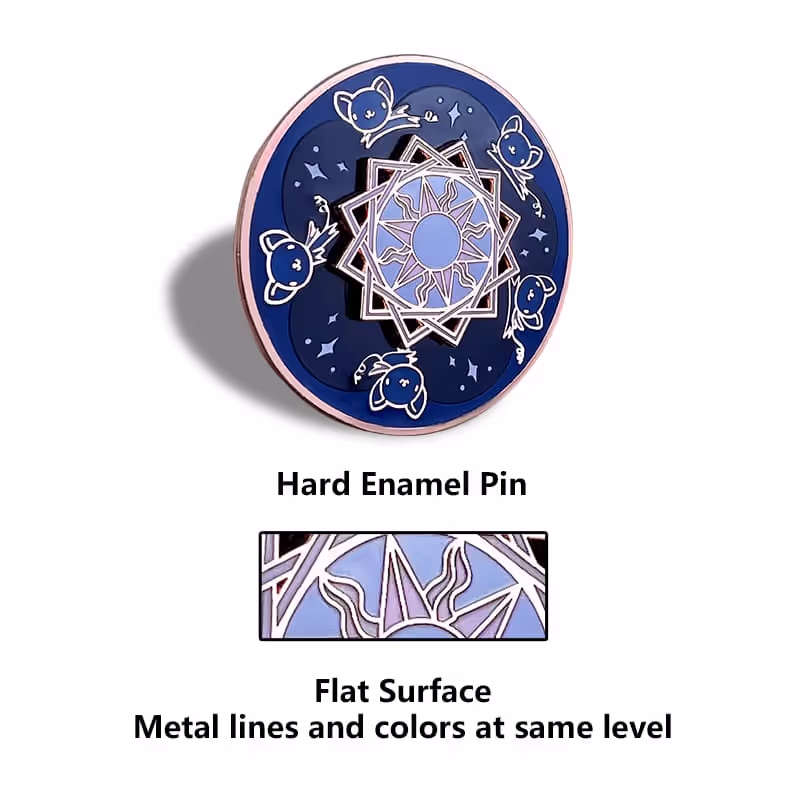
Hard Enamel Pins: Also known as cloisonné pins, these undergo additional polishing to create a smooth, glass-like surface. The finished product has a premium look and feel, ideal for high-end brooches and corporate insignia.
-
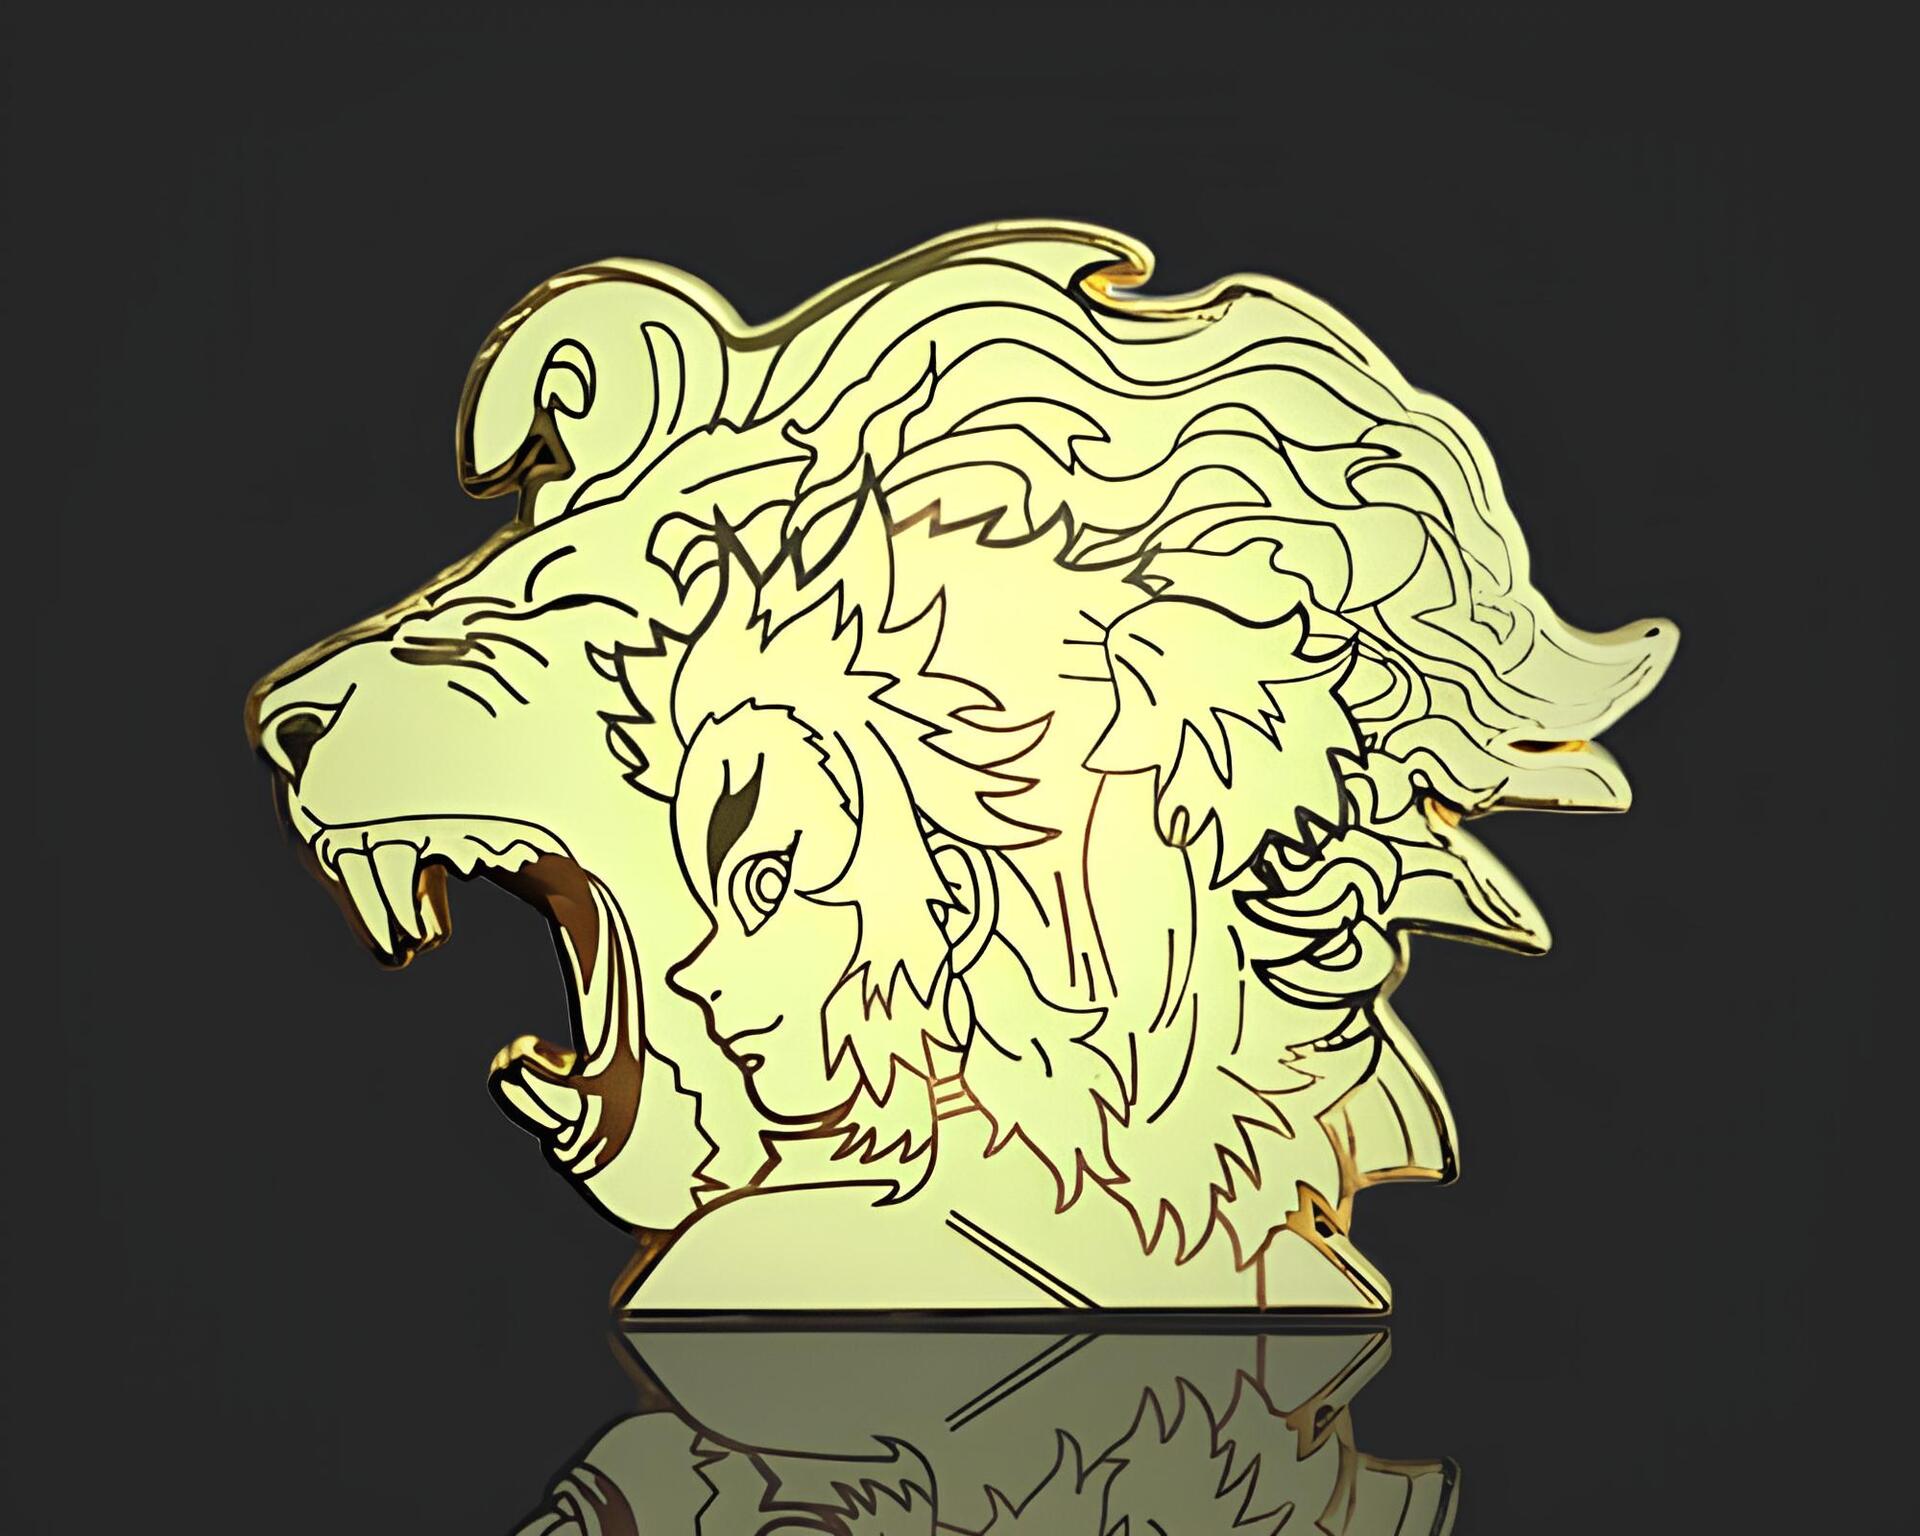
Die Struck Pins: These metal emblems feature raised and recessed areas without color, showcasing the natural metal finish. They offer a classic, sophisticated appearance suitable for formal occasions.
-
Photo-etched pins: This technique allows for intricate details and multiple levels, making them perfect for complex designs with fine lines or text.
-
Printed Pins: Digital printing technology allows for photorealistic images and gradients on metal surfaces.
-
Offset Printed Pins: Similar to printed pins but with a protective epoxy dome coating that adds dimension and durability.
Materials Commonly Used
The base materials for decorative fasteners typically include:
- Brass
- Copper
- Iron
- Stainless steel
- Aluminum
- Zinc alloys
Each material offers different benefits in terms of weight, durability, and appearance, influencing both the manufacturing process and the final product quality.
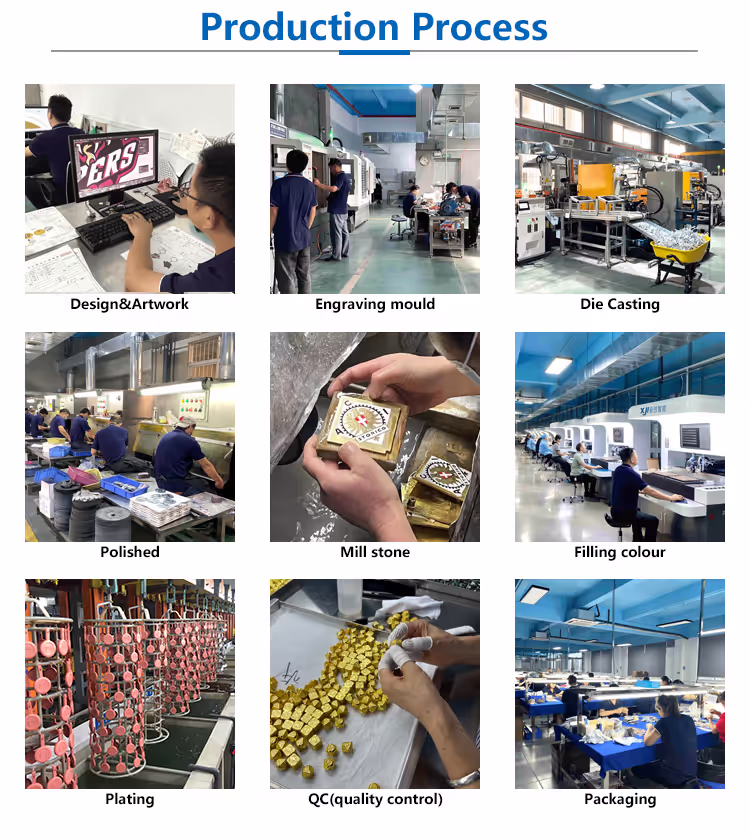
Step-by-Step Guide to Making Lapel Pins
Creating custom pin badges involves several stages, from conceptualization to production. Here’s a comprehensive breakdown of the process:
1. Design Development
The first step in creating memorable pin lapel pins is developing a compelling design:
- Sketch your concept: Begin with hand-drawn sketches or digital drafts of your design idea.
- Consider size limitations: Most badge pins range from 0.75″ to 2″ in diameter, affecting detail possibilities.
- Color selection: Choose a color palette that complements your design and aligns with your branding or aesthetic goals.
- Typography: If including text, ensure it’s legible at small sizes.
- Digital preparation: Convert your design to vector format using software like Adobe Illustrator for scalability and production readiness.
2. Choosing the Right Manufacturing Method
Based on your design requirements and budget, select the appropriate manufacturing technique:
- Soft enamel: Best for colorful designs with a textured feel.
- Hard enamel: Ideal for premium, smooth-finish pins with vibrant colors.
- Die struck: Perfect for classic, metal-focused designs without color.
- Photo etched: Suitable for intricate details and multiple levels.
- Printed: Excellent for photorealistic images or gradients.
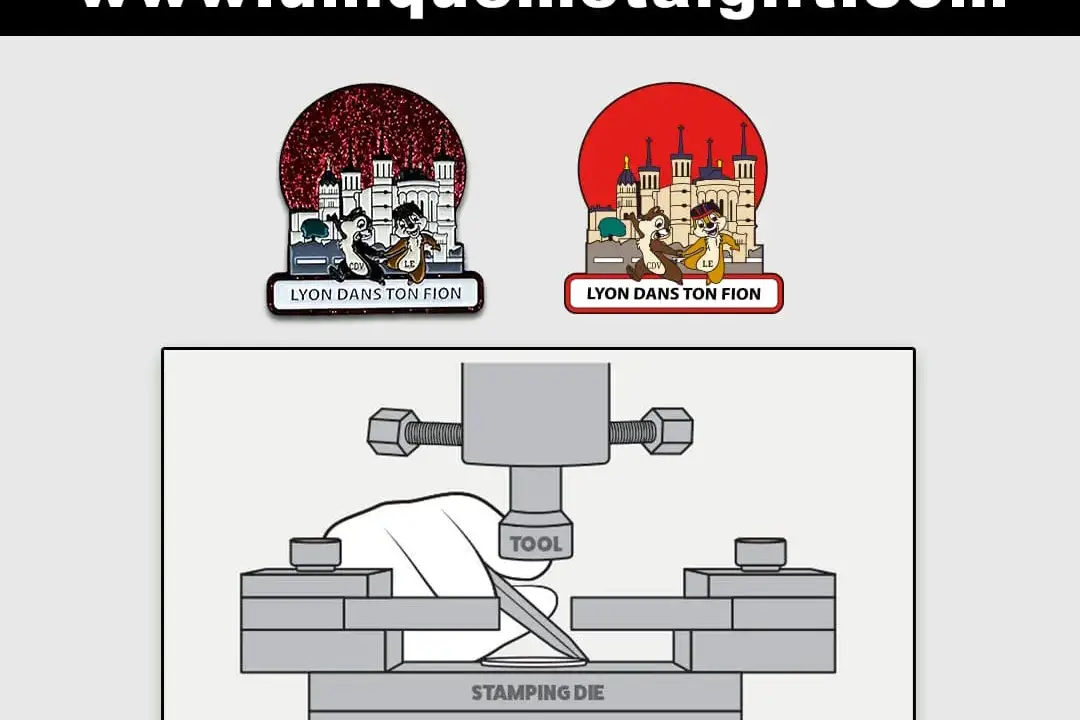
3. Creating a Mold or Die
For most traditional manufacturing methods:
- Your design is converted into a metal die or mold.
- This die serves as the template for creating the metal base of your pins.
- The quality of this die significantly impacts the final product’s detail and definition.
4. Metal Stamping and Cutting
Once the die is ready:
- Metal sheets (typically brass or copper) are stamped with the die.
- This creates the raised and recessed areas that define your design.
- The individual pin shapes are cut from the metal sheet.
5. Plating and Finishing
Before adding color:
- The metal bases undergo plating with gold, silver, copper, or other finishes.
- This step determines the metal color visible in your final design.
- Plating also protects against tarnishing and corrosion.
6. Adding Color (For Enamel Pins)
For colored designs:
- Soft enamel: Colors are hand-filled into the recessed areas and cured.
- Hard enamel: Colors are filled, then the entire pin is polished to a smooth finish.
- For printed pins: The design is printed directly onto the metal surface.
7. Attaching Backings
The final production step:
- Fastening mechanisms (butterfly clutches, rubber backs, magnetic clasps, etc.) are attached.
- Quality control checks ensure secure attachment and proper functionality.
8. Quality Control and Packaging
Before shipping:
- Each pin undergoes inspection for defects or color inconsistencies.
- Approved pins are packaged individually or in bulk, depending on requirements.
Design Considerations for Custom Lapel Pins
Creating effective custom lapel pin designs requires attention to several key factors:
Design Complexity and Limitations
- Level of detail: Extremely fine details may not reproduce well in metal.
- Line thickness: Lines should be at least 0.3mm thick to ensure structural integrity.
- Text size: Text smaller than 6pt may become illegible in the final product.
- Color separations: Ensure adequate space between different colored areas.
Color Selection and Matching
- Pantone matching: For brand consistency, provide Pantone color codes to manufacturers.
- Metal color integration: Consider how your chosen metal finish complements your color palette.
- Contrast: Ensure sufficient contrast between adjacent colors for visual clarity.
Size and Wearability
- Weight considerations: Larger pins can become heavy and may damage delicate fabrics.
- Practical sizing: Most wearable pin badges range from 0.75″ to 1.5″ in their largest dimension.
- Backing options: Different fastening mechanisms offer varying levels of security and fabric protection.
Special Effects and Finishes
- Glitter enamel: Adds sparkle to specific areas.
- Glow-in-the-dark: Creates special effects in low-light conditions.
- Transparent enamel: Allows the metal beneath to show through with a colored tint.
- Epoxy doming: Adds dimension and protection with a clear resin coating.
Manufacturing Techniques for Quality Pins
Understanding the nuances of different manufacturing techniques can help you achieve the best results for your custom pin lapel pin project:
Soft Enamel Process in Detail
The soft enamel process creates pins with a textured surface where you can feel the metal edges:
- After stamping the metal, recessed areas are filled with enamel paint.
- The pin is baked at lower temperatures than hard enamel.
- The result features raised metal edges with color sitting slightly below.
- This technique offers cost-effectiveness while maintaining visual appeal.
Hard Enamel (Cloisonné) Excellence
For premium quality pins:
- Similar to soft enamel, but with additional steps for a superior finish.
- After color application, pins undergo multiple polishing processes.
- The final product has a smooth, glass-like surface with colors level with metal edges.
- This process requires more labor but results in durable, high-end decorative fasteners.
Die Struck Craftsmanship
For classic metal pins without color:
- The design is stamped into metal with multiple levels of depth.
- No enamel is added, allowing the natural metal texture and finish to be the focus.
- Various metal plating options (gold, silver, antique finishes) create different aesthetic effects.
Photo Etching Precision
For highly detailed designs:
- A chemical process etches the design into metal.
- This allows for extremely fine details not possible with stamping.
- Multiple levels can be created for dimensional effects.
- Color can be added using similar techniques to soft enamel.
Digital Printing Innovations
For photorealistic designs:
- Advanced printing technology applies images directly to a metal base.
- This allows for gradients, photographs, and complex color patterns.
- A protective epoxy coating is typically added for durability.
Quality Control Considerations
Regardless of the manufacturing technique chosen:
- Material quality: Higher-grade metals result in sharper details and better durability.
- Plating thickness: Thicker plating prevents chipping and extends product lifespan.
- Color consistency: Professional manufacturers ensure batch-to-batch color matching.
- Backing attachment: Properly secured fasteners prevent loss and damage.
Marketing and Selling Your Pin Creations
If you’re creating custom lapel pins for commercial purposes, consider these marketing and sales strategies:
Target Markets for Pin Badges
- Collectors: The enamel pin collecting community has grown significantly in recent years.
- Corporate clients: Businesses use custom pins for employee recognition and brand promotion.
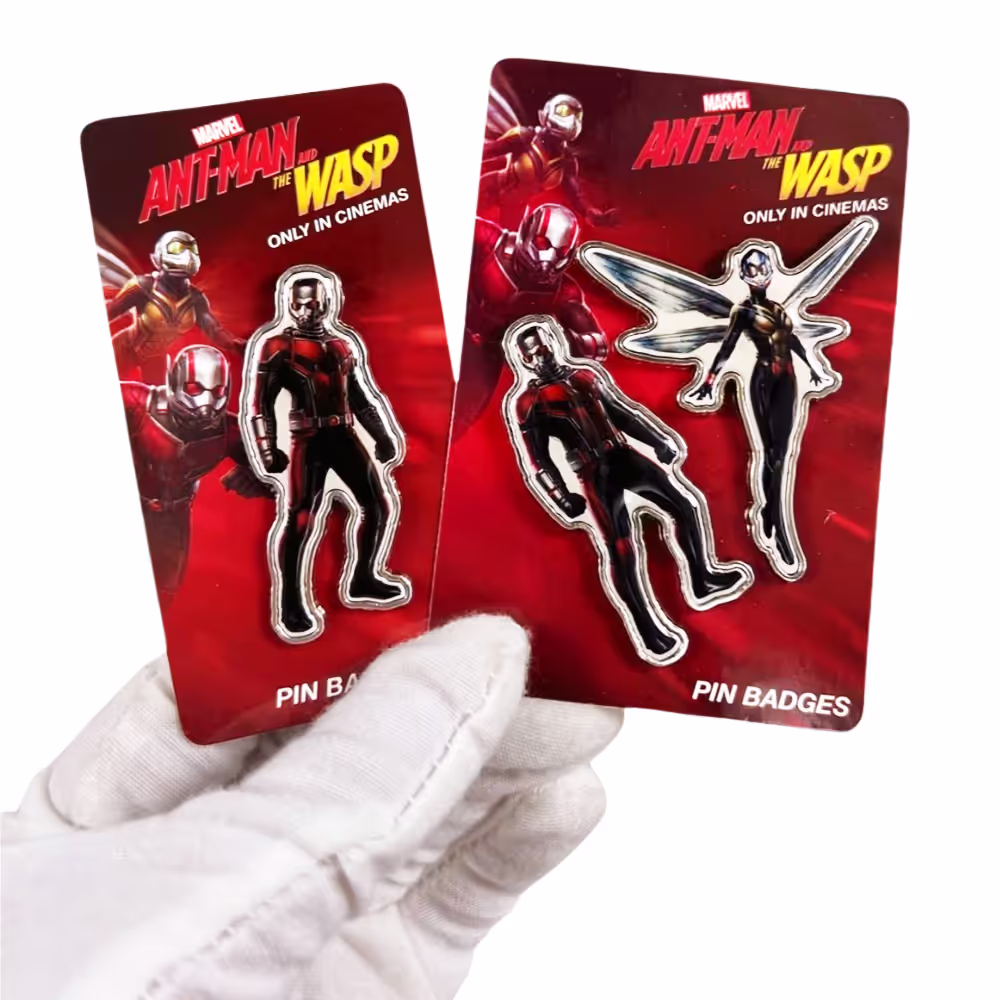
- Events and conferences: Commemorative pins serve as memorable keepsakes.
- Fundraising: Custom pins can support charitable causes and awareness campaigns.
- Retail: Fashion accessories and statement pieces for individual expression.
Pricing Strategies
- Cost calculation: Factor in manufacturing costs, packaging, shipping, and desired profit margin.
- Volume pricing: Offer discounts for bulk orders to encourage larger purchases.
- Limited editions: Create scarcity with numbered or time-limited designs to justify premium pricing.
- Value-added packaging: Custom backing cards or display options can increase perceived value.
Sales Channels
- E-commerce platforms: Etsy, eBay, and Amazon provide access to established marketplaces.
- Custom website: A dedicated online store offers brand control and higher profit margins.
- Social media: Instagram and Pinterest are particularly effective for visual products like pin badges.
- Craft fairs and conventions: Direct sales opportunities with immediate customer feedback.
- Wholesale to retailers: Expand reach by supplying local or niche stores.
Marketing Techniques
- Social proof: Share customer photos and testimonials.
- Collaboration: Partner with artists or brands for cross-promotion.
- Content marketing: Create blog posts or videos about your design process or pin collections.
- Email marketing: Build a subscriber list for new release announcements and special offers.
Caring for and Displaying Your Pin Collection
Whether you’re creating pins for personal enjoyment or collecting those made by others, proper care and display enhance their longevity and appeal:
Storage Solutions
- Pin books: Album-like books with foam pages designed specifically for pin storage.
- Display frames: Shadow boxes or specialized frames that allow pins to be viewed while protected.
- Corkboards: Simple yet effective for rotating displays of your collection.
- Specialized pin banners: Fabric banners designed to hold and display multiple pins.
Maintenance Tips
- Cleaning: Gently clean metal parts with a soft cloth; avoid harsh chemicals.
- Handling: Hold pins by edges to prevent fingerprints and oils from affecting finishes.
- Backing protection: Keep rubber backings away from heat, which can cause deterioration.
- Storage environment: Avoid high humidity areas to prevent tarnishing and corrosion.
Collection Organization
- Thematic grouping: Arrange by theme, artist, or acquisition date.
- Cataloging: Maintain a digital or physical record of your collection, including acquisition details.
- Rotation: Periodically change displayed pins to reduce exposure to light and dust.
Frequently Asked Questions
Most manufacturers require minimum orders ranging from 50 to 100 pieces. This is because the setup costs (creating dies, preparing materials) represent a significant portion of the manufacturing expense. However, some specialized makers offer small-batch or even single-piece production using alternative techniques like 3D printing or laser cutting, though these typically come at a higher per-unit cost.
The production timeline for custom lapel pins typically ranges from 2-4 weeks, depending on complexity, quantity, and manufacturing method. This timeframe includes:
- Design approval: 1-3 days
- Mold creation: 3-5 days
- Production: 7-14 days
- Quality control: 1-2 days
- Shipping: Varies by location and method
Rush orders may be available at additional cost, potentially reducing production time to 7-10 days.
The primary differences between soft and hard enamel pins lie in their production process, appearance, and feel:
Soft enamel pins feature:
- Raised metal edges with recessed colored areas
- Textured surface where you can feel the difference between metal and enamel
- Lower baking temperatures during production
- Generally lower production costs
- A more casual, contemporary aesthetic
Hard enamel pins feature:
- Smooth, flat surface where enamel is level with metal edges
- Glass-like finish after polishing
- Higher baking temperatures and additional polishing steps
- Higher production costs due to additional labor
- A more premium, traditional appearance similar to cloisonné
The choice between them depends on your design requirements, budget, and desired aesthetic.
To ensure your custom lapel pin design is manufacturable:
- Maintain a minimum line thickness of 0.3mm
- Ensure text is at least 6pt in size
- Allow adequate separation between colored areas
- Limit extremely fine details that may not reproduce well
- Consider the limitations of your chosen manufacturing method
- Provide vector files in formats like .ai or .eps
- Include Pantone color codes for accurate color matching
- Consult with your manufacturer during the design phase
Most reputable pin makers offer design assistance and will provide feedback if your design requires adjustments for production.
Common backing options for pin lapel pins include:
- Butterfly clutch: The standard option, featuring a removable metal piece that slides onto the pin post
- Rubber clutch: Similar to a butterfly clutch but with rubber instead of metal, offering better grip
- Deluxe clutch: Enhanced version of butterfly clutch with a locking mechanism for added security
- Safety pin: Traditional backing is ideal for temporary use on delicate fabrics
- Magnetic backing: Two-piece system with strong magnets that attach through fabric without piercing
- Tie tack: Includes a chain and bar for securing to ties or similar items
- Screw back: Threaded post with screw-on back for permanent or semi-permanent attachment
Each option offers different levels of security, ease of use, and fabric protection.

Conclusion
Creating custom lapel pins offers a unique blend of artistic expression and practical application. Whether you’re designing commemorative badges for a special event, developing branded accessories for your organization, or crafting collectible enamel pins for a passionate community, the process combines creativity with technical precision.
The journey from concept to finished product involves numerous decisions about design, materials, manufacturing techniques, and finishing details. Each choice influences not only the appearance of your pin badges but also their durability, wearability, and overall quality. By understanding these elements, you can create decorative fasteners that effectively communicate your intended message while providing lasting value.
For those interested in making lapel pins as a business venture, the growing market for these miniature art pieces presents significant opportunities. With strategic marketing, thoughtful pricing, and attention to quality, custom pin creation can evolve from a creative hobby into a sustainable enterprise.
Whether you choose to work with established manufacturers or explore DIY methods for small-batch production, the satisfaction of seeing your designs transformed into tangible, wearable art makes the process rewarding. As you develop your skills and understanding of pin production, you’ll discover endless possibilities for innovation within this specialized craft.